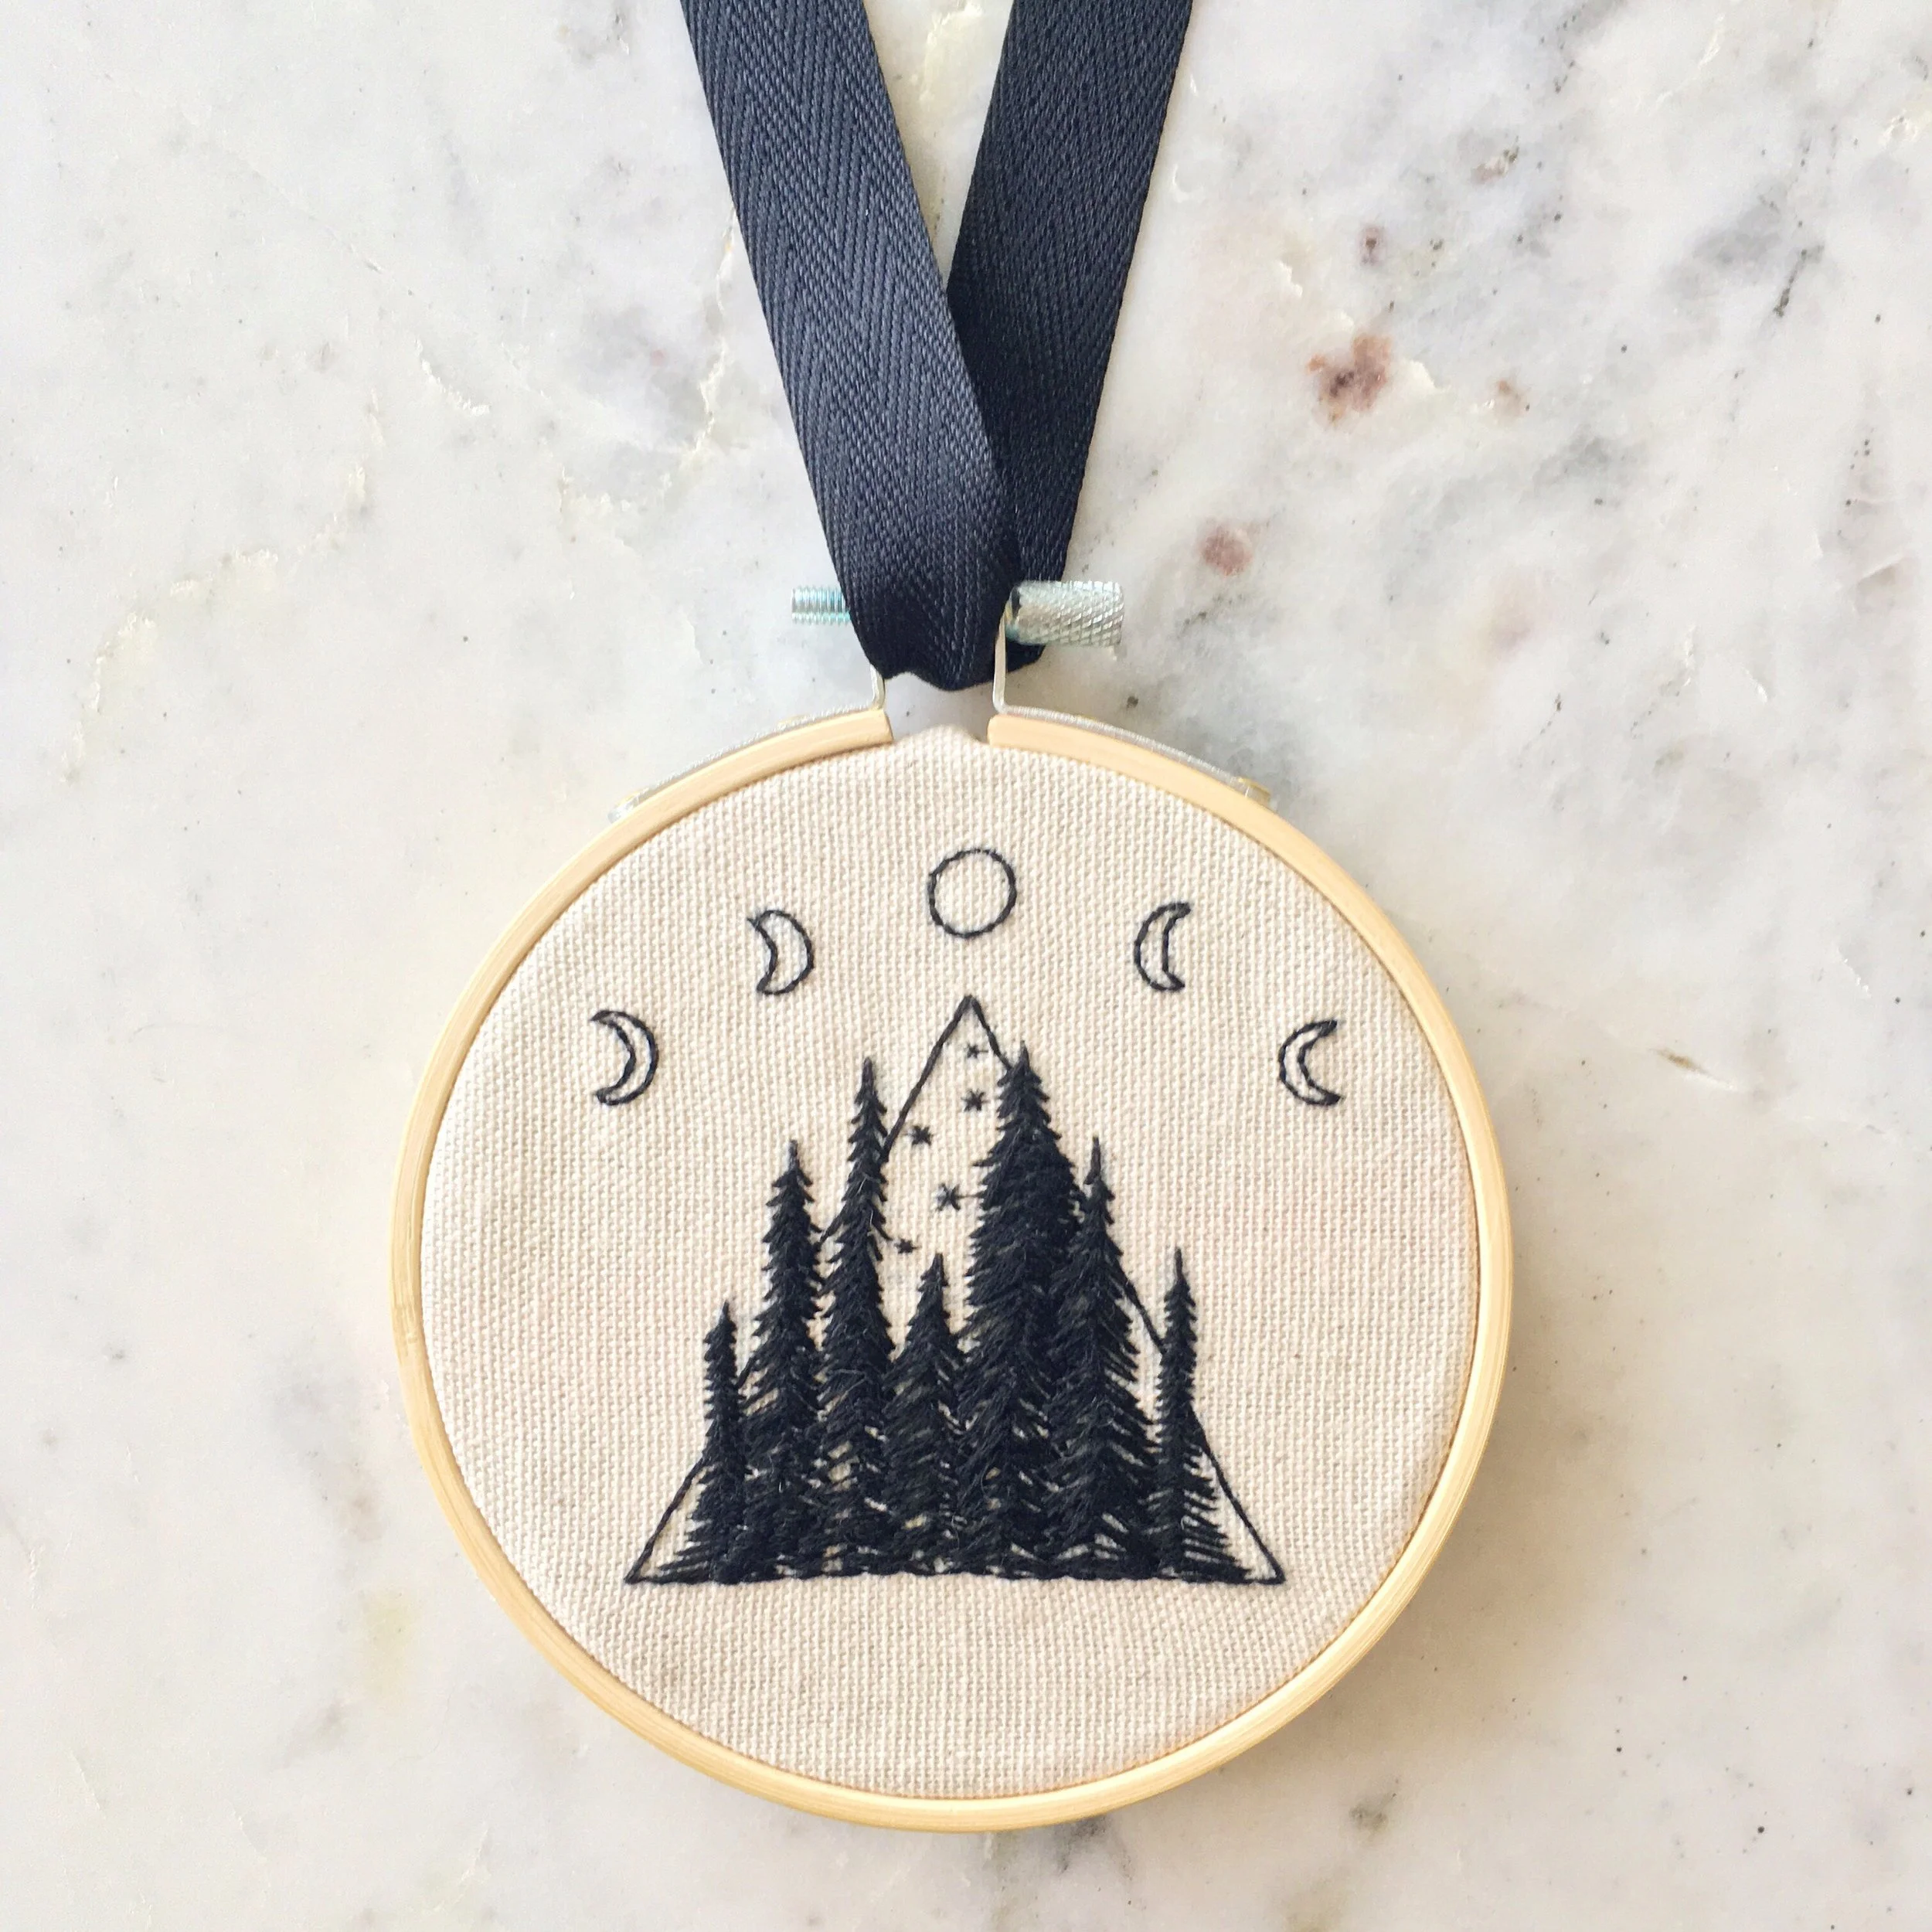
Moonlit Pines: Tips & Tricks
Embroidery floss is compiled of six strands. In general, you can separate the strands out for thinner lines, or use the whole 6 for thick lines. For most of this design, you’ll use two strands from the six. For the stars, use only one strand.
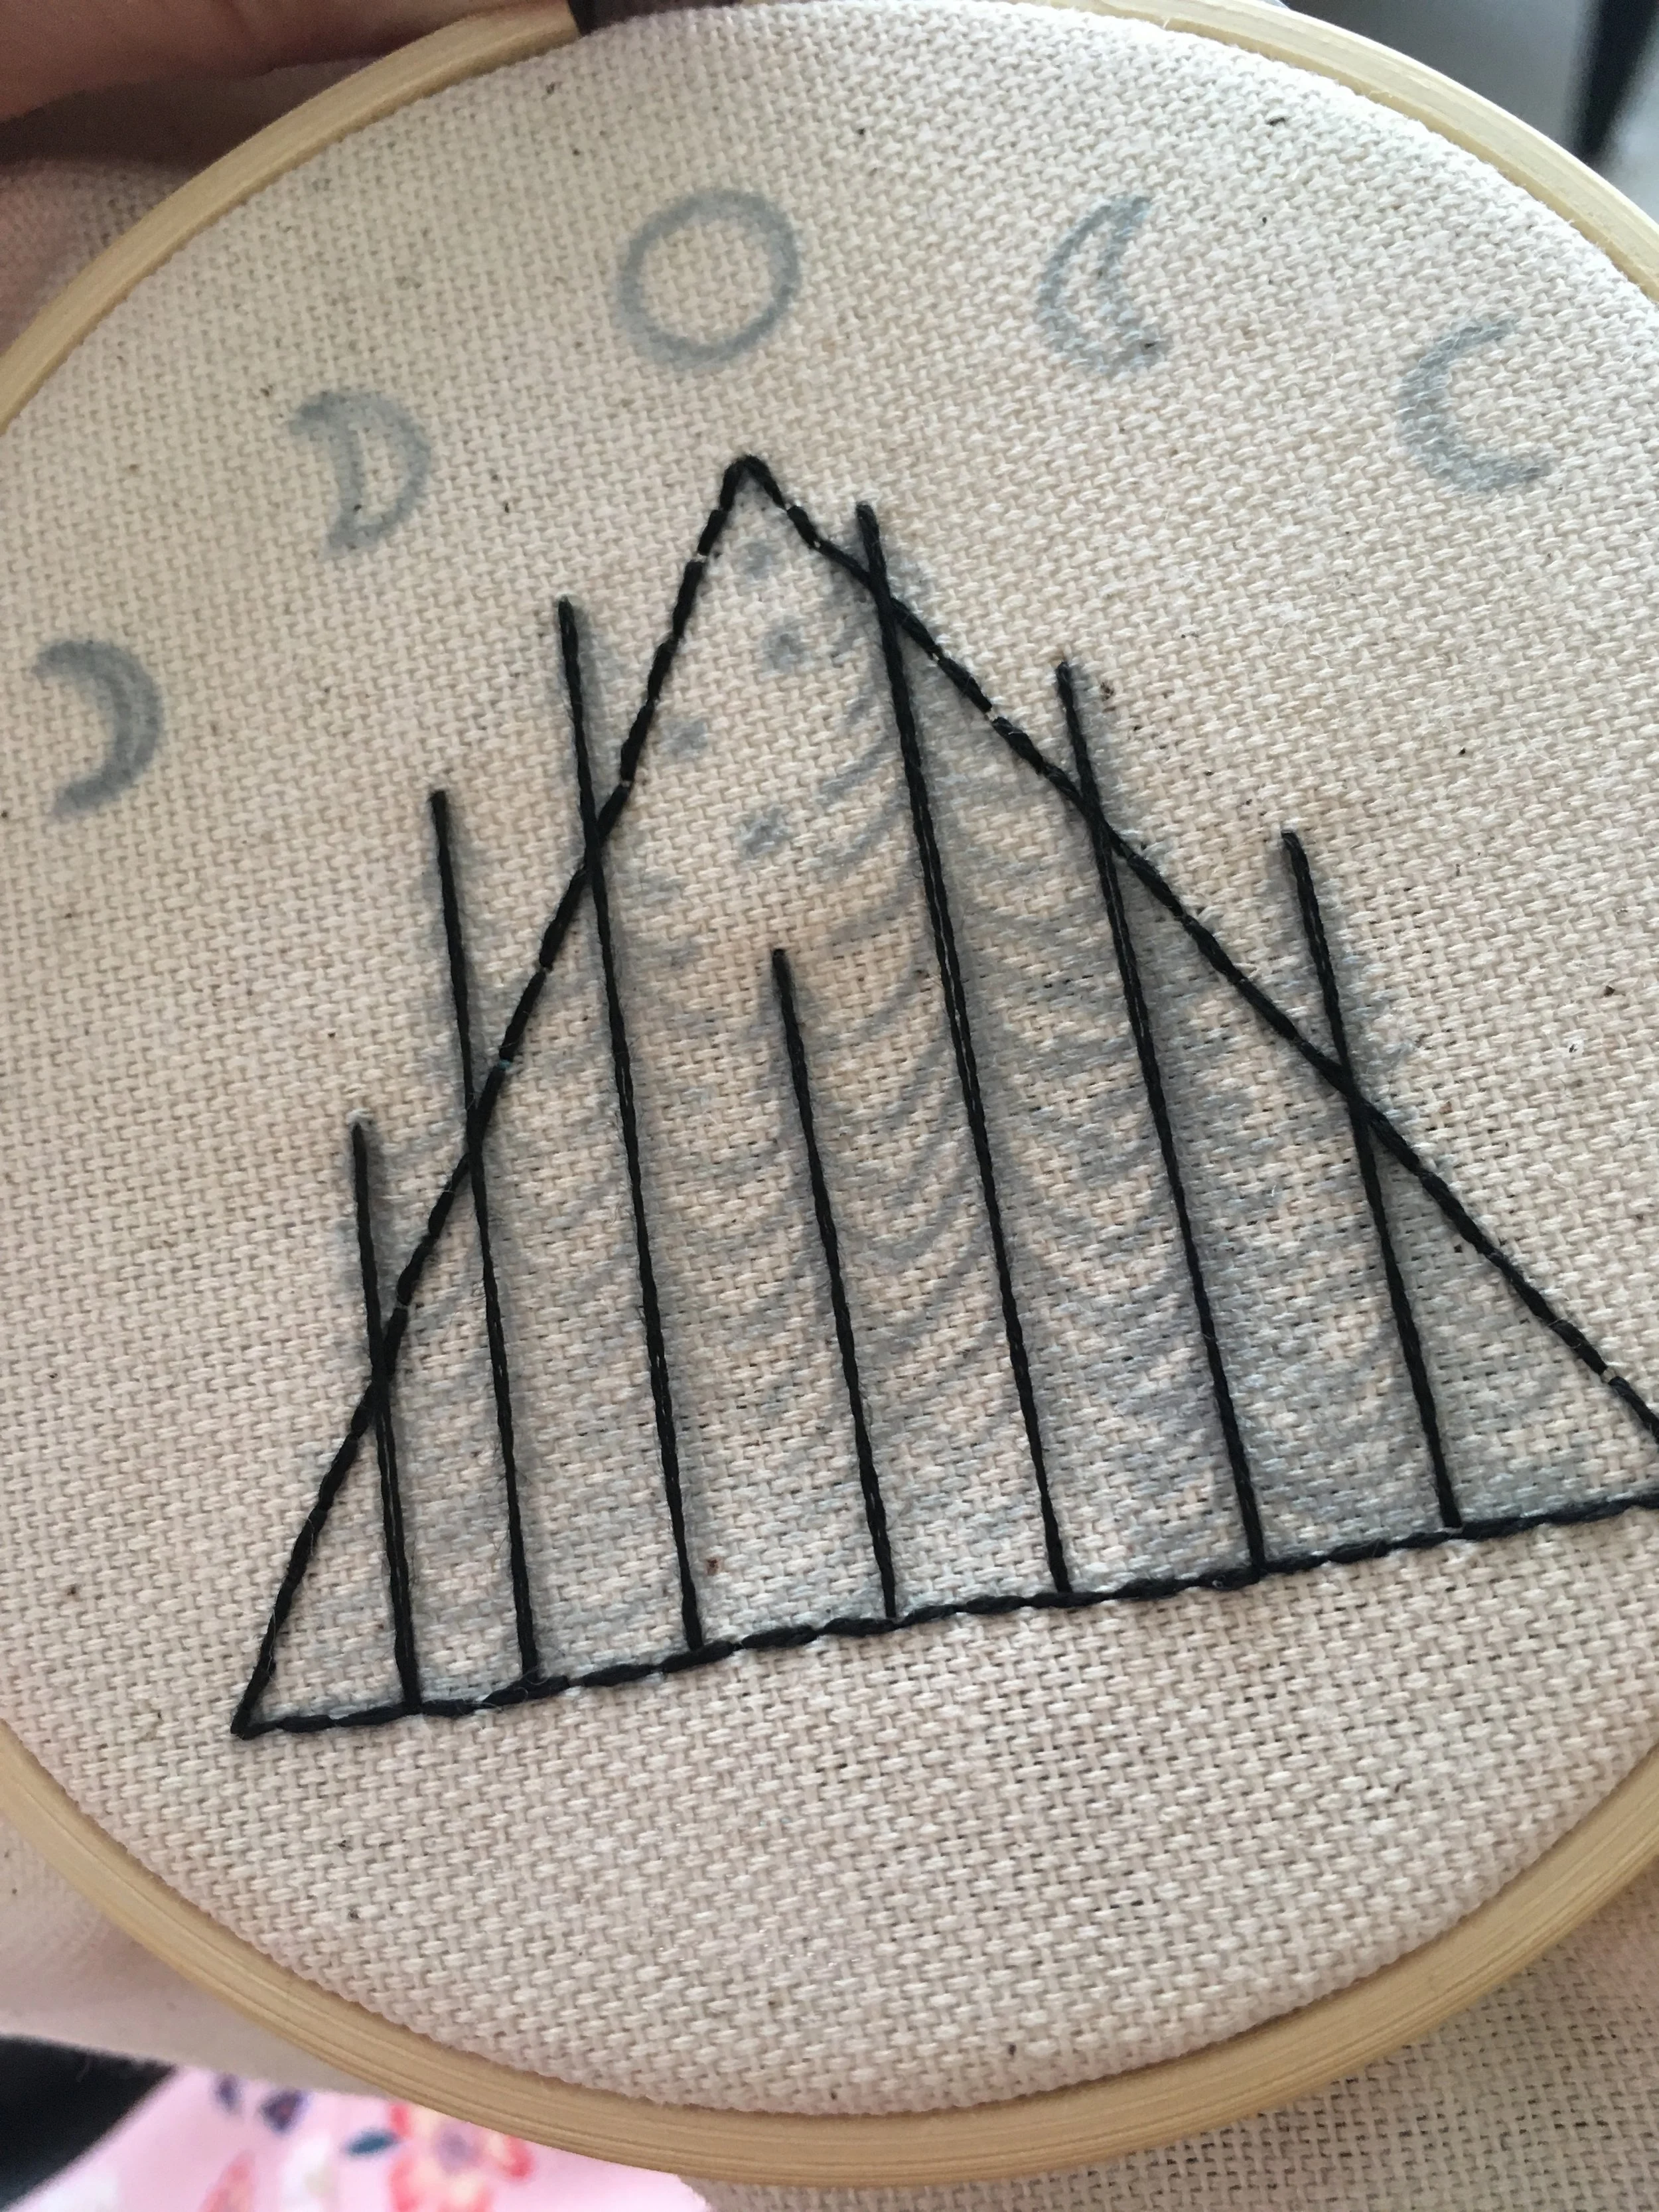
Once you’ve finished the triangle behind the trees using the basic back stitch, you can begin the pines. I recommend using one long stitch for the trunks, to make sure they look very straight.

If you do the long stitch, you’ll need to secure the trunk down as you stitch the pine branches in the next step.
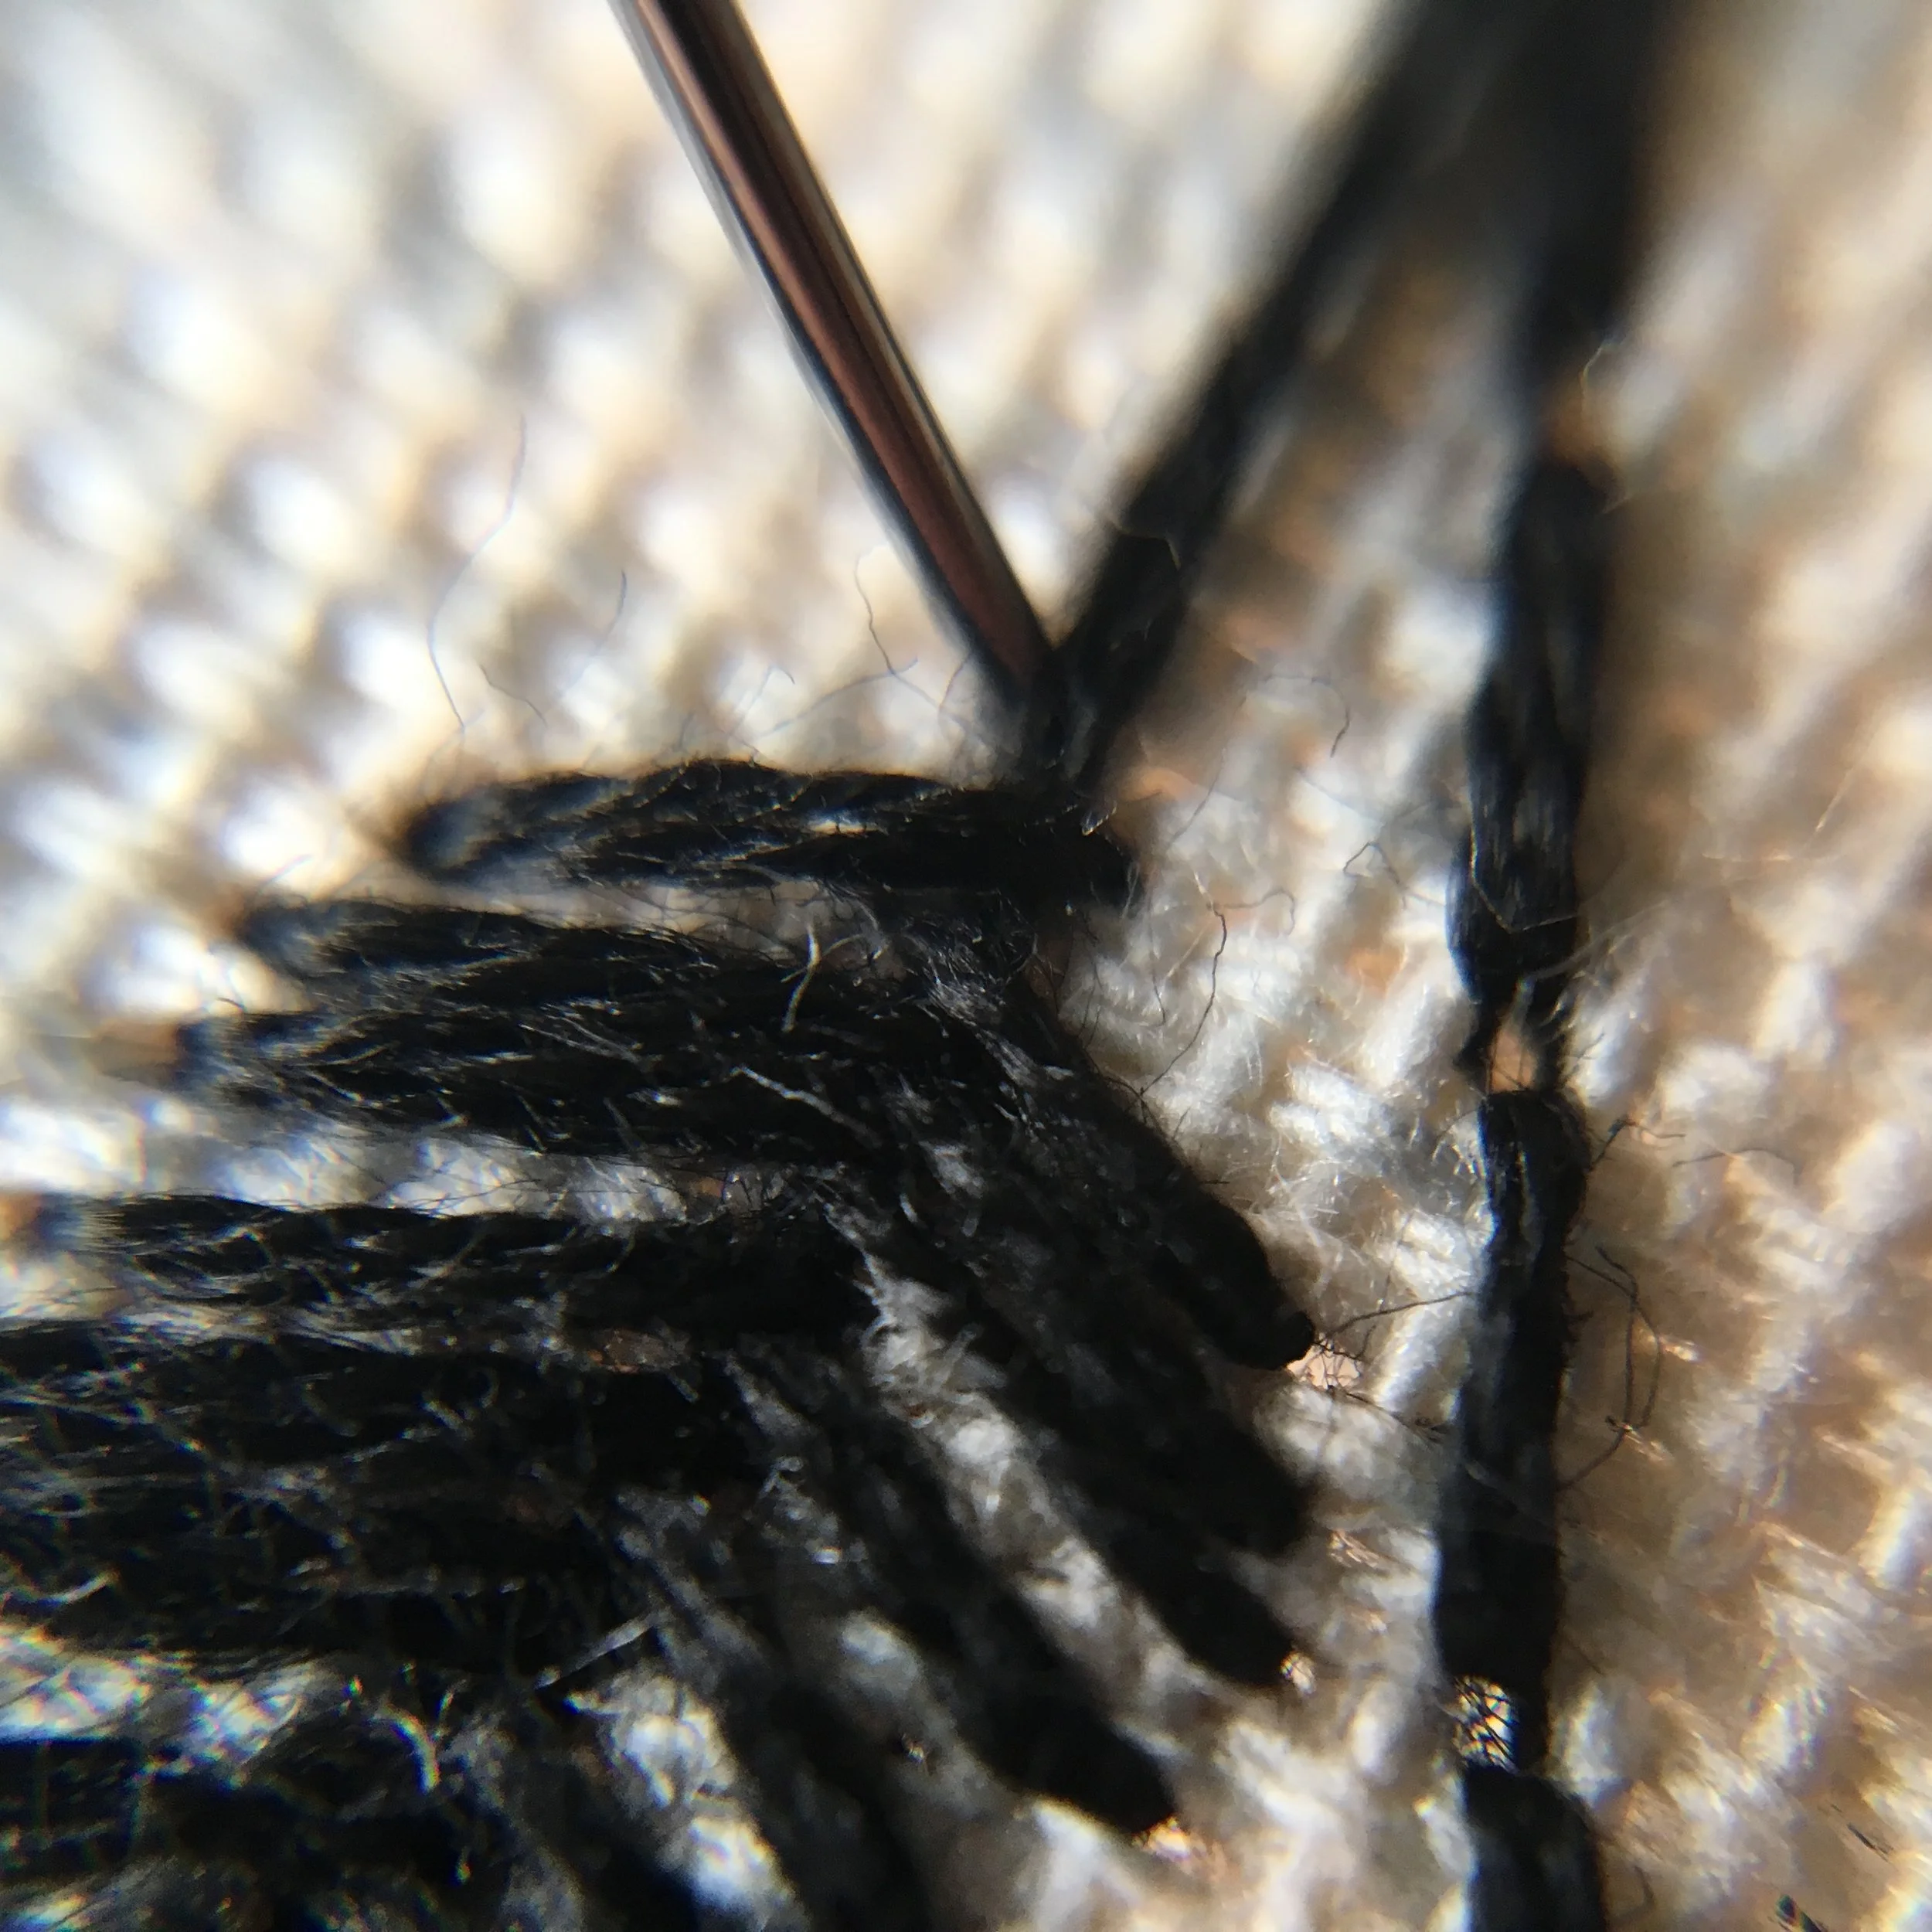
To make the branches, I recommend beginning at the base of each tree trunk. Bring the needle up just next to the trunk and stitch over the trunk.
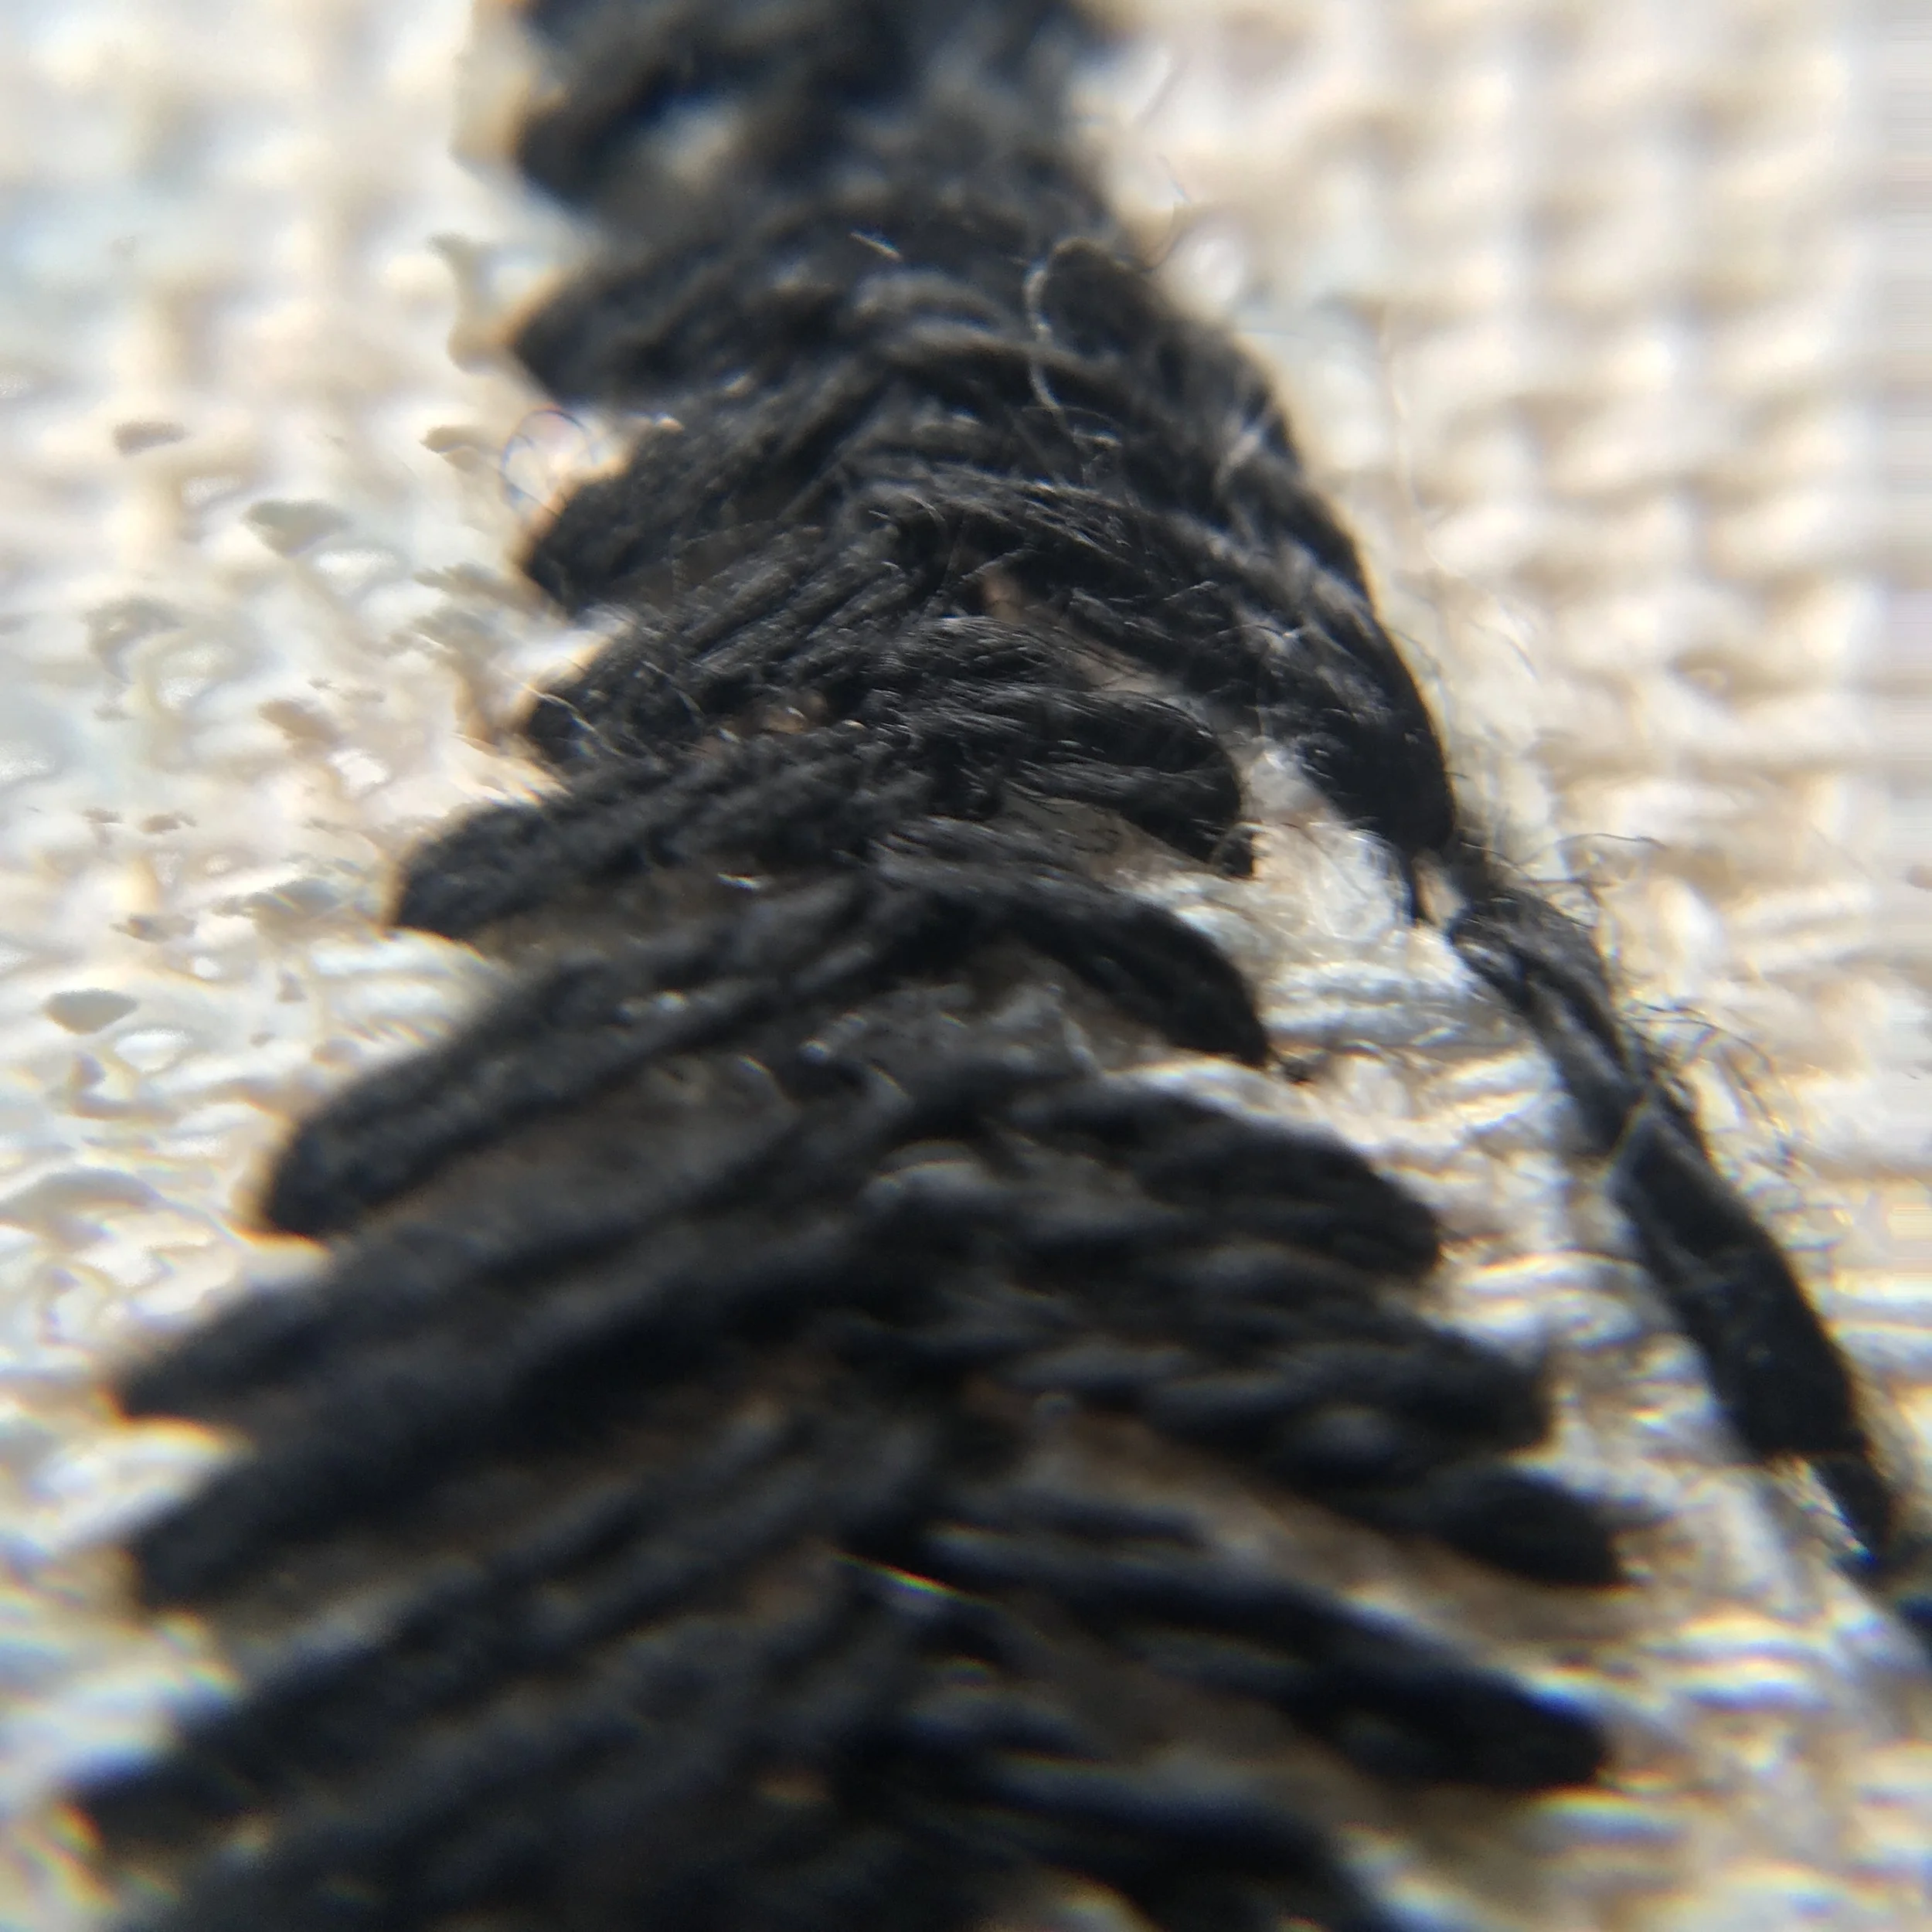
For example, for a branch going left, come up on the right of the trunk, and stitch the branch over the trunk, going down to the left. Next, come up on the left side of the trunk, come over the trunk and down to the right for the next branch. This will begin to resemble a fishtail braid!
There are guides for the branches printed on your fabric, but you can add as many branches to fill in the space as you’d like. In my example, I added enough branches to almost fill the space, leaving just enough space for the moonlight to shine through.
The stars are just simple stitches going one over the other until you have a star! Since these stars are meant to look tiny and distant, I recommend using only one strand of embroidery floss for this step.
When you’re completely finished stitching, and you’ve finished the back of the hoop however you’d like, you can hang your piece using the black ribbon. You can also tie it in a bow and place your piece proudly on a shelf.